This shop has been compensated by Collective Bias, Inc. and its advertiser. All opinions are mine alone. #ThrowItBarkDogChow #CollectiveBias
Today I am going to share with you an easy, DIY tutorial for a DIY toy bin for your dog. Keep reading to find out how you can make this in a very short amount of time and don’t forget to enter the Purina sweepstakes at the bottom of this post for a chance to win five year’s long supplies of Dog Chow from Target!
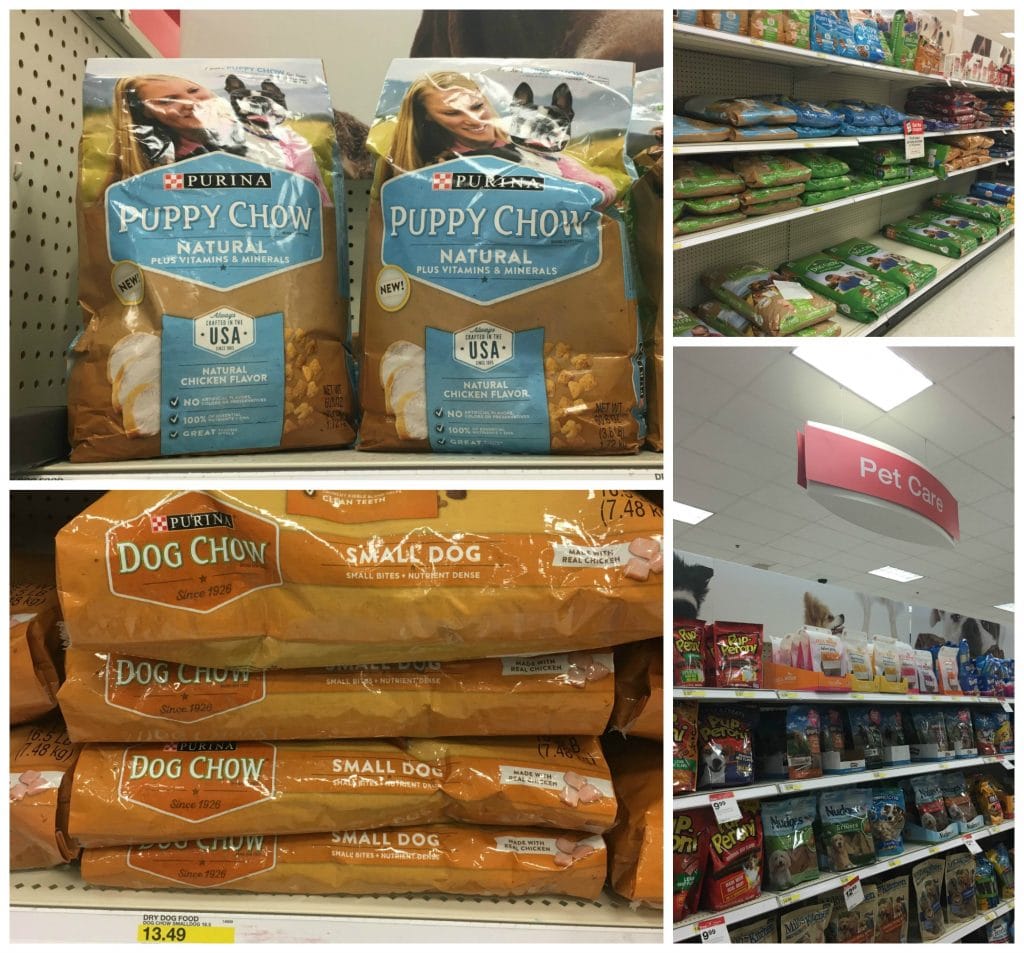
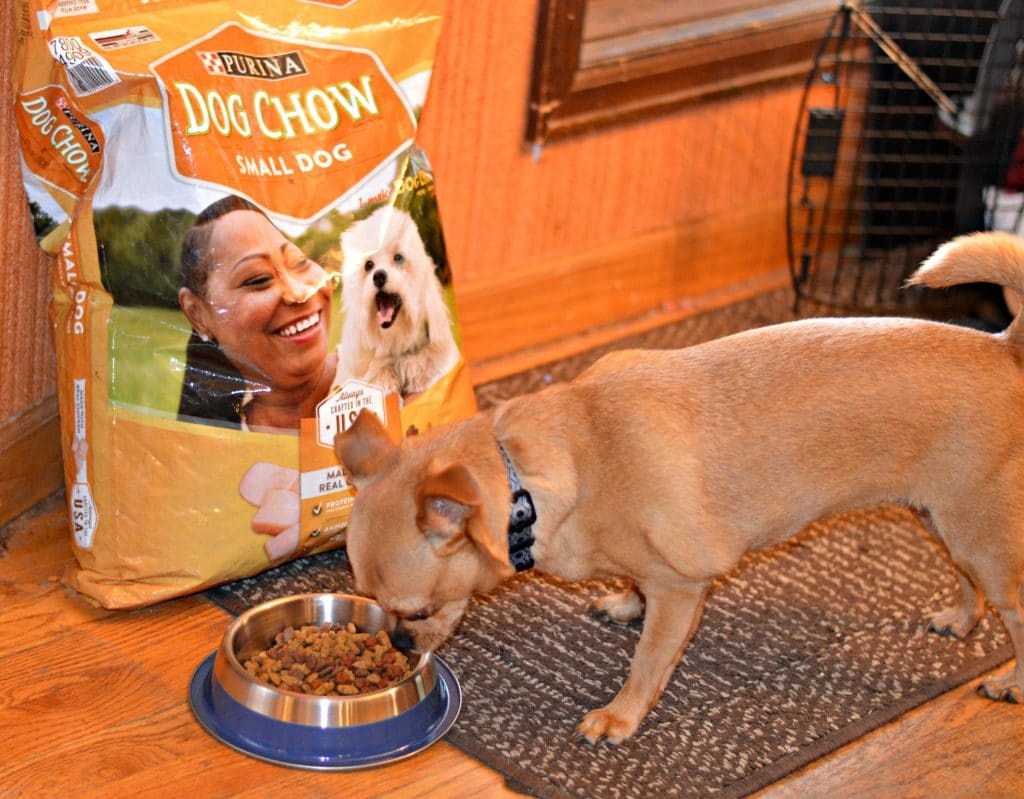
A few weeks ago I shared a tutorial for creating a pamper box for your pet dog. As you can see in that post, it is very easy to make and your dog will love it! I explained in that post that we don’t currently have a dog at our home, but my in-laws’ just got a new dog recently and we have had a great time getting to know her and welcome her to the family. In the pamper box, in addition to some fun toys, we also included Purina Dog Chow (Small Dog) as well as Purina Puppy Chow Natural dog food. Lady (my in-laws’ dog) loved this food and the rest of her pamper box! We were confident giving her Purina Dog Chow because it is made in the USA and created by dog lovers like all of you! You can find it in its new packaging at Target in the pet aisle.
Right now Purina is giving away five year’s long supplies of Dog Chow from Target! Enter for your chance to win one of these fabulous prizes for you and your furry best friend!
Spending all of this time with Lady has really reminded me of all of the dogs that I had when I was growing up in Mexico. As I explained in my previous post, I always had a dog when I was growing up and they were always part of the family. There are so many dogs in Mexico without a family, so we always tried to take as many in as we could so that they could have a loving family and be taken care of. We don’t have a dog at our house yet, but I think that we will definitely be getting one within the next year or so as my boys get a little bit older.
Meanwhile, we will continue to pamper and spoil Lady. She loved her pamper box, and we hope that she will love this new toy bin that we made for her today!
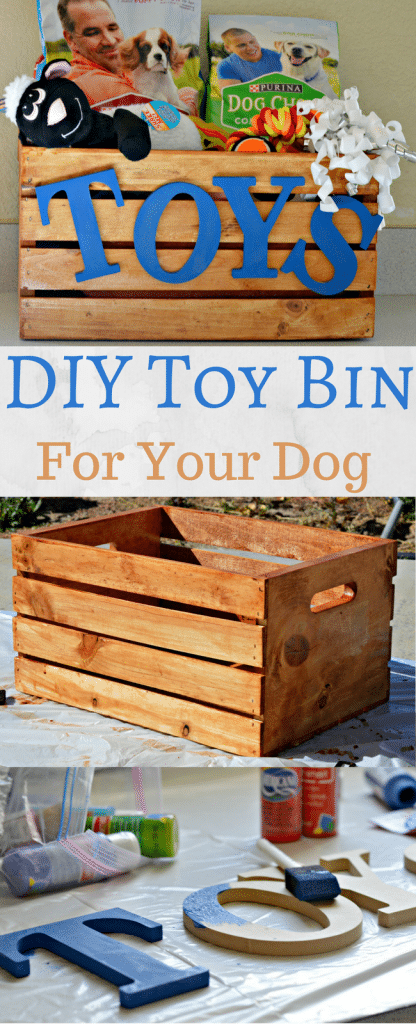
To make the bin, you will need a wooden crate like this one, which you can find at your local hardware or crafts store.
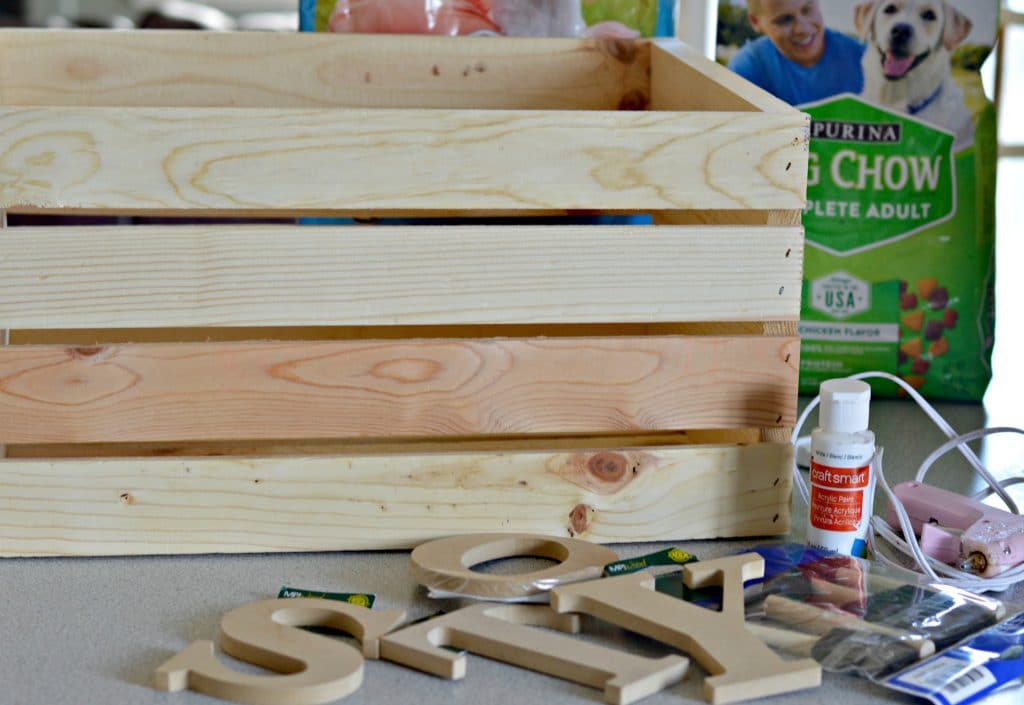
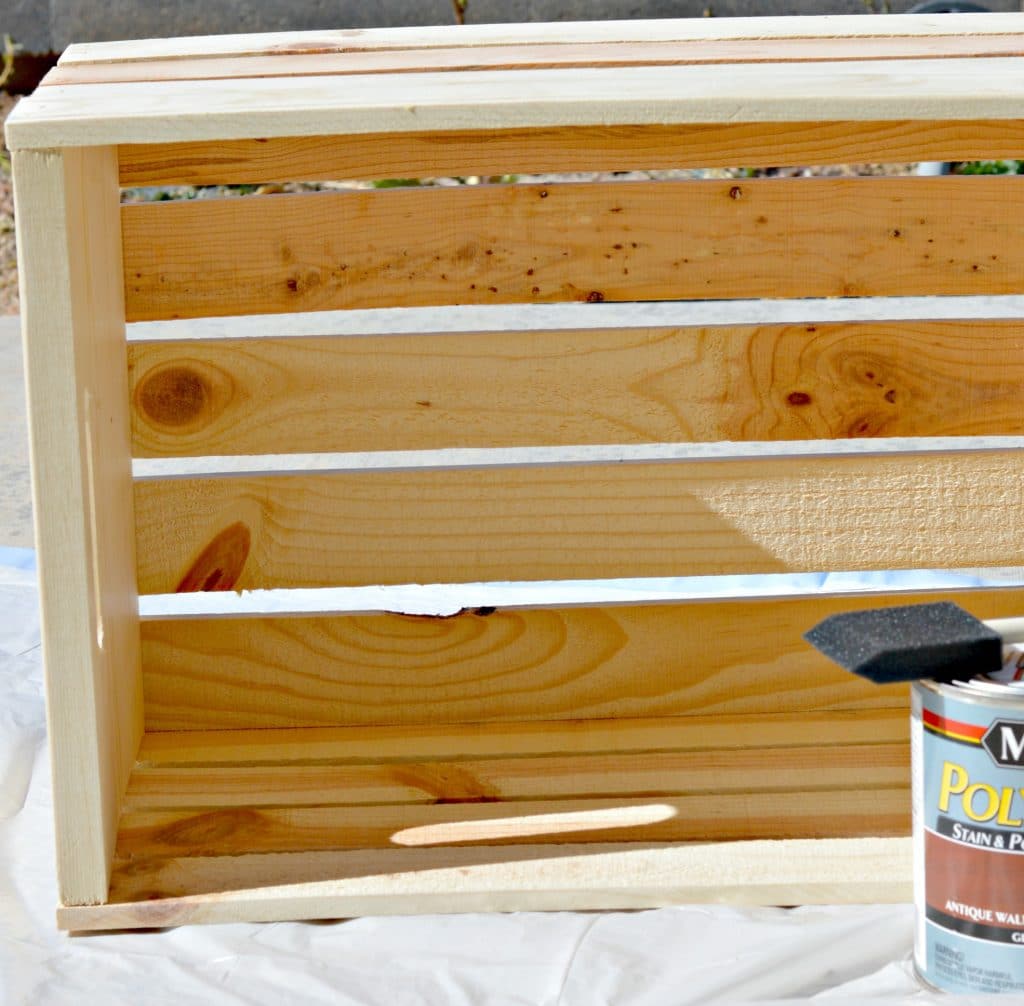
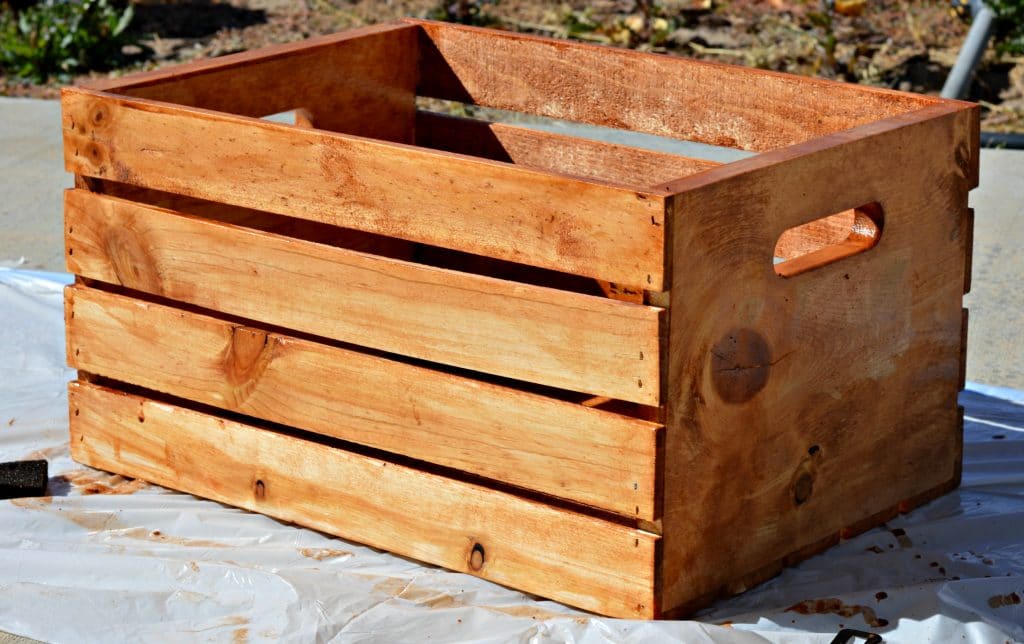
After you have the box, you should sand it and then you can choose to stain it or paint it the color of your choice to make it look nicer. You could also leave it the color that you get it, but I think adding a little bit of color makes it pop a bit more.
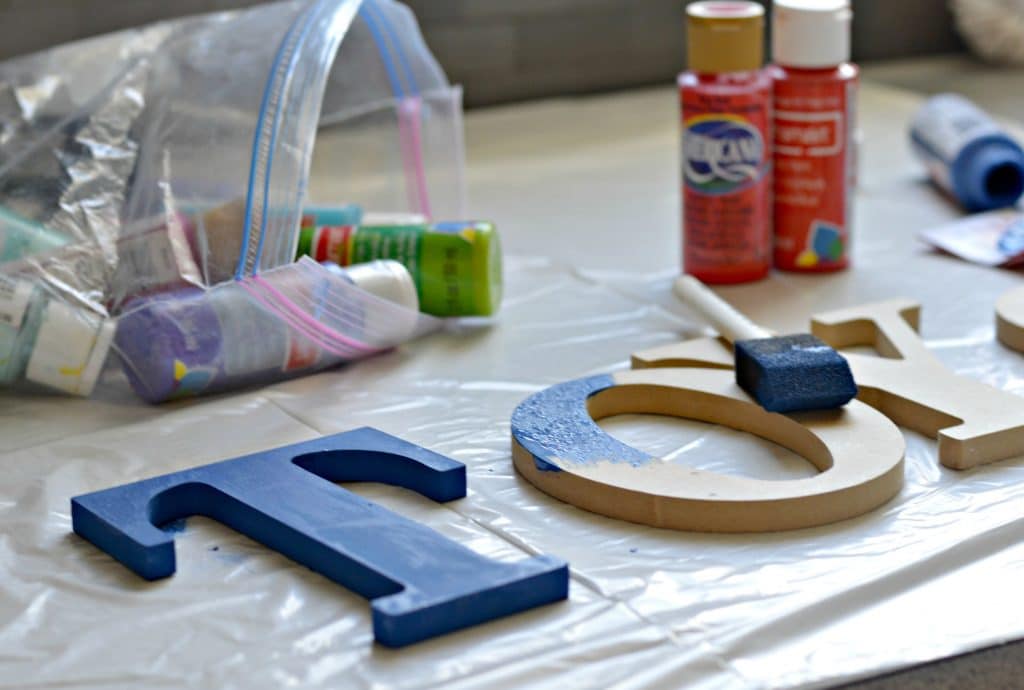
You will also need to get some large wooden letters as well as some acrylic paint in the color of your choice. Carefully paint the letters with the acrylic paint, let dry, and set aside.
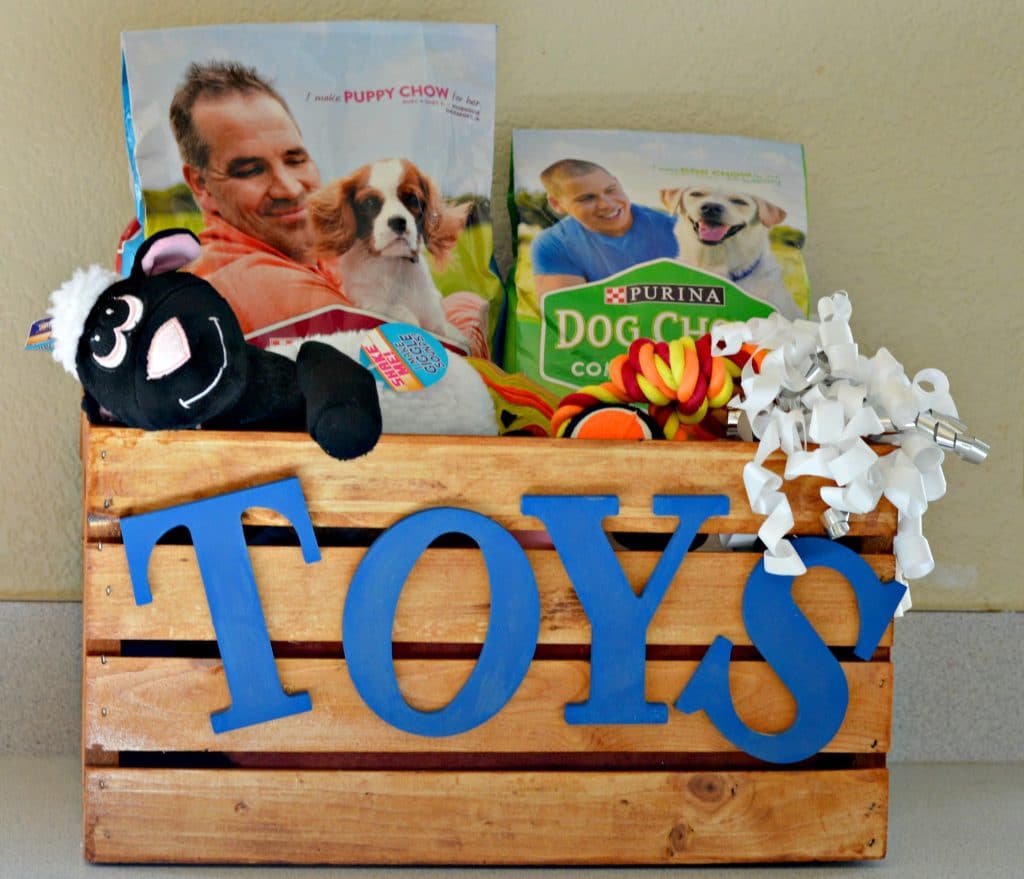
After the crate and the letters are dry, the next step is to attach the letters to the box using a hot glue gun, or even nails if you prefer.
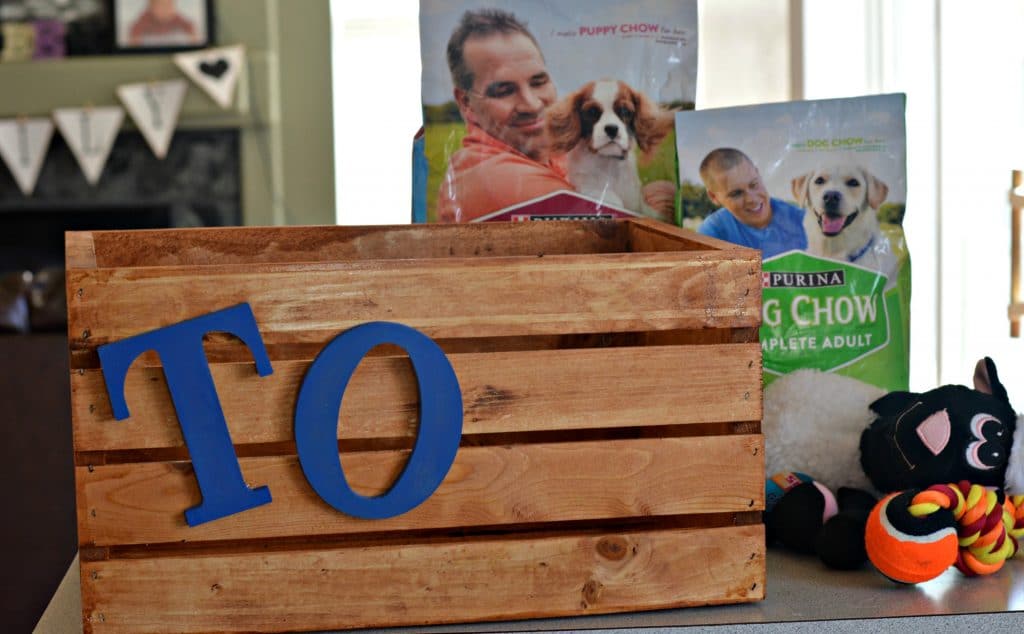
The final step is to fill it up with all of your dogs favorite toys. You can even choose to put its dog food there if you need somewhere to store it!

I hope that you have enjoyed this tutorial for a toy bin and that your dog loves it! I would love to hear about some of your favorite memories with your dogs – feel free to share in the comments below!

