Para Español, Haz Click Aquí.
I love doing crafts, especially when they are cheap, and easy. I am no professional, and I love looking around for great ideas and inspiration, but it seems like most tutorial ideas require some sort of expensive vinyl or sewing machine. Honestly, I don’t like to spend a lot of money on expensive materials and I always look for ways to reuse left over materials from prior projects for my new ones. So, if you are a professional, this post might not be for you :). On the other hand, if you are like me and you like to make pretty things for your home but you don’t like complicated and expensive project, you are in the right place!
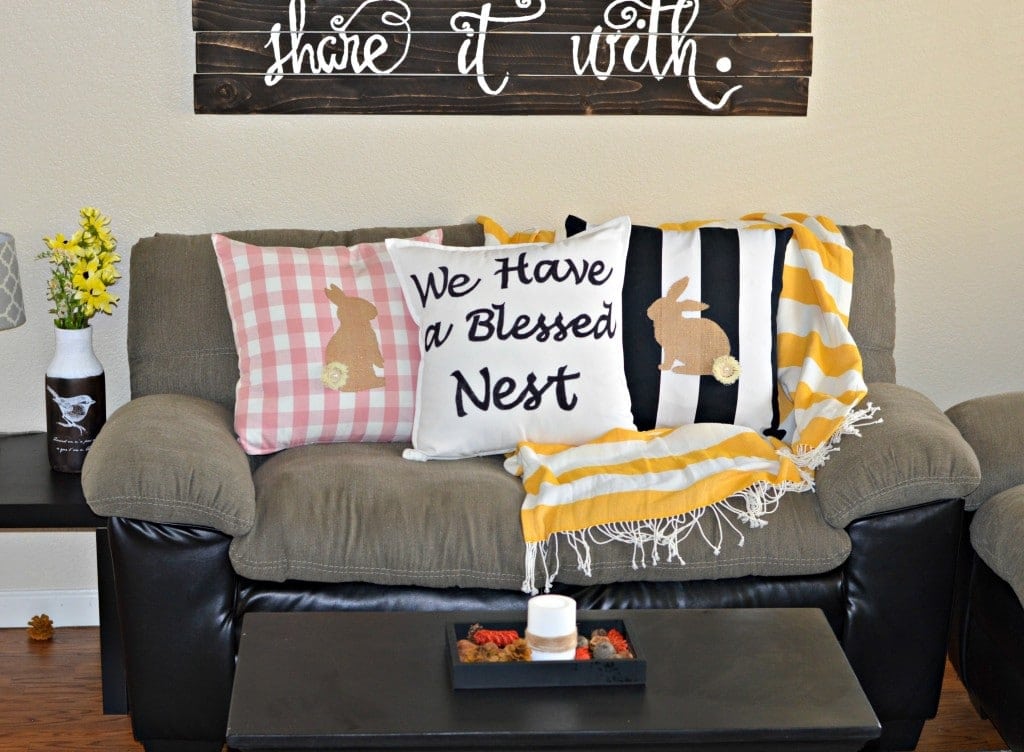
I will start off by saying that you can get these 20″ x 20″ pillowcases for around $4 dollars on Amazon or even at IKEA, which saved me the time and money that it would have taken me to buy the fabric and sew them together myself. Of course when I lived in Mexico, I could have bought 2 yards of fabric for $1, but here in the United States it usually isn’t as cheap. I decided to make Easter themed pillow cases because it is just around the corner and with Spring coming up and winter almost gone, I can’t help but do what I love – decorate my house!
To start it is important to wash and iron the pillowcases. Once they are ready to use, the next step is to print the letters that you need for whatever phrase you want to put on the pillow. I used Microsoft Word and typed up the words in Lucida font using size 250, 230, and 300 font so that the words all lined up correctly. Of course you should use the font that you like and the sizes will depend on how big the pillowcases are too. That’s why I hope that this post is more than just a tutorial, but rather an inspiration! Once you have printed the letters, cut them out and place them on the pillowcase in the correct order. Even though this technique is cheap and kind of unconventional, I assure you that it will work and just requires a little bit of patience.
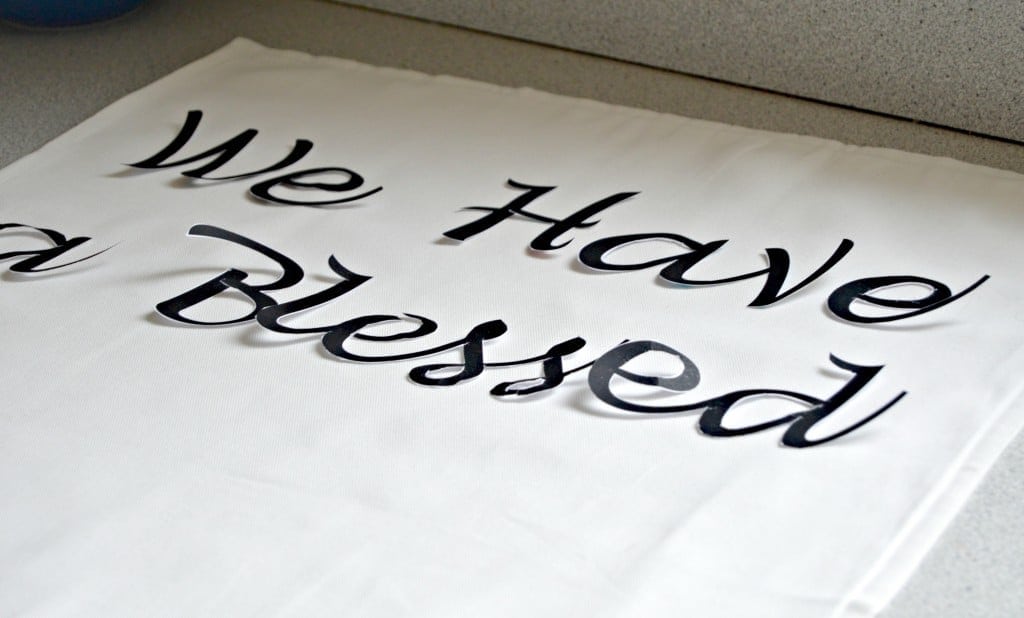
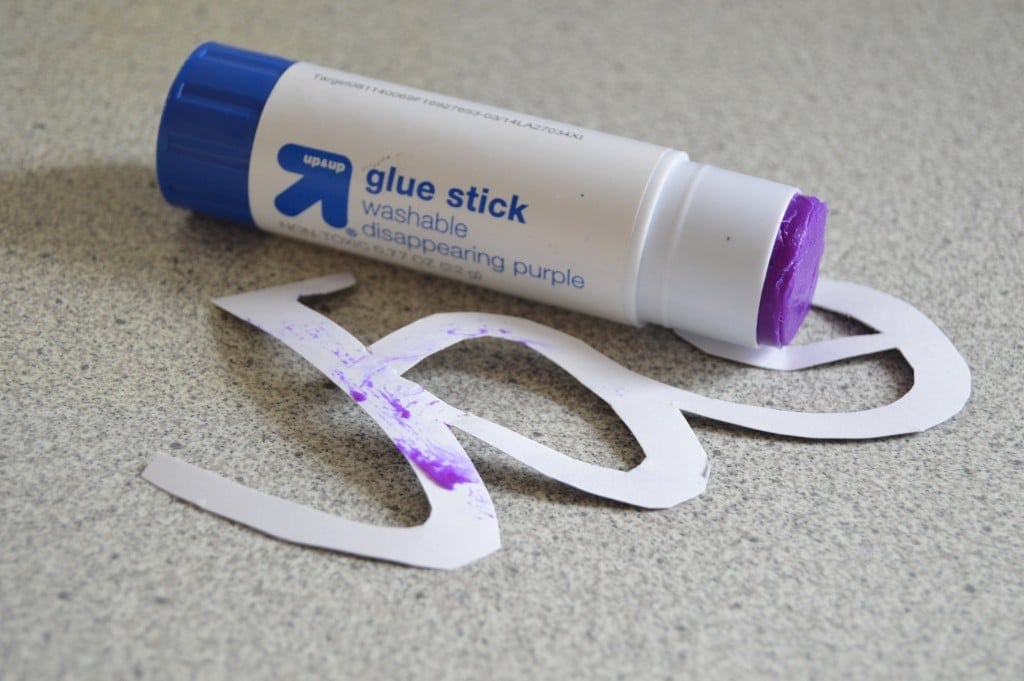
Now, with the letters in place, you can outline them using a pencil. If you have problems with the letters staying in place, you can use an inexpensive glue stick to keep them in place while you are tracing them onto the pillowcase. This step will not affect your ability to fill them in with the markers that you will use in the next step.
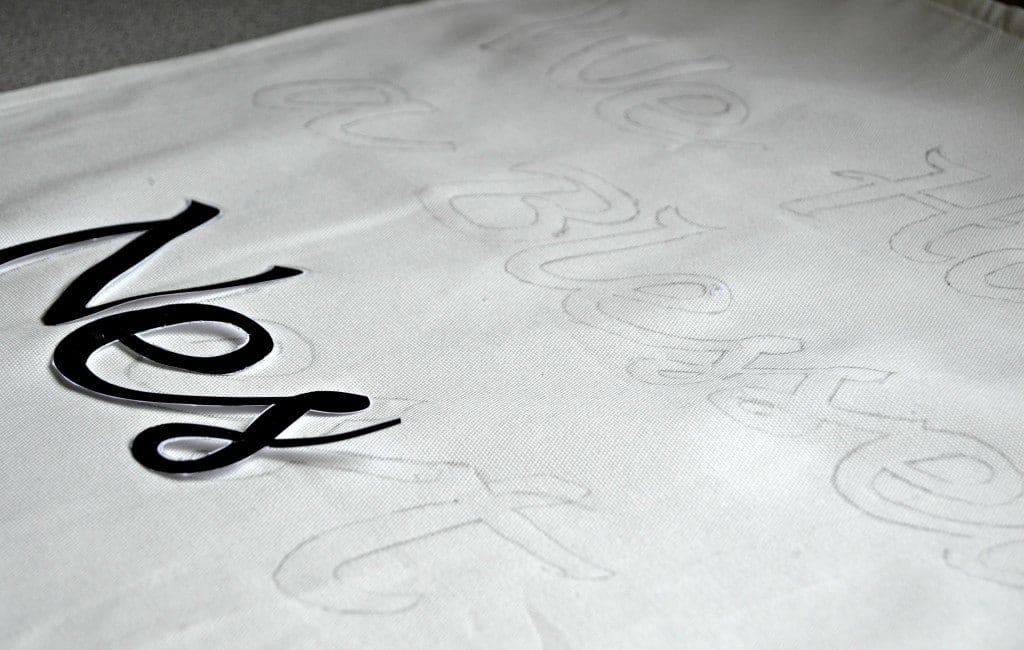
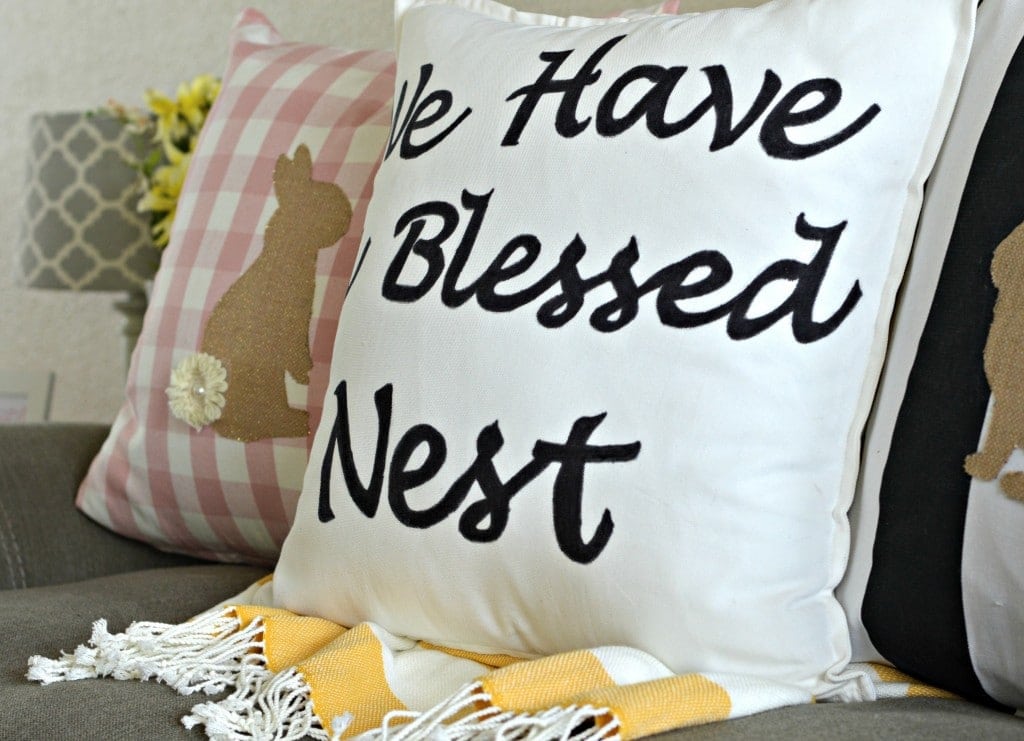
To make the next step easier, start by putting a recycled piece of cardboard inside the pillowcase (this will keep the marker from bleeding through). Now, very carefully you can color in each of the letters, making sure to not leave any white spaces. You may need to go over it a couple of times to fill it in completely. When you are done, let it dry for about 15 minutes and add the pillow. Easy and pretty!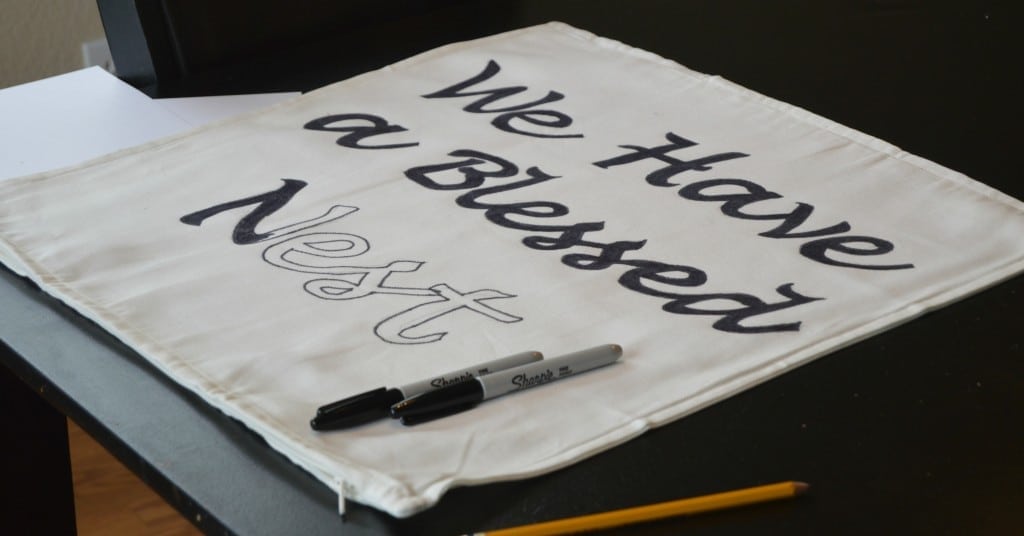
To make these Easter bunny pillowcases, you will need to buy HeatnBond iron on adhesive, your choice of fabric (I used burlap), and an image of a bunny that you can find on google. After printing off the image, you can trace it onto the fabric and cut it out into the shape that you want to use. Once you have it cut out, use a match to seal the borders so that they don’t fray. This is an old trick that our abuelitas teach us in Mexico – just make sure that you don’t get to close to the fabric itself and be careful not to burn yourself. Once this is done, it is ready to attach to the pillowcase. Just follow the instructions on the iron on adhesive to add the adhesive to your cut out bunny.
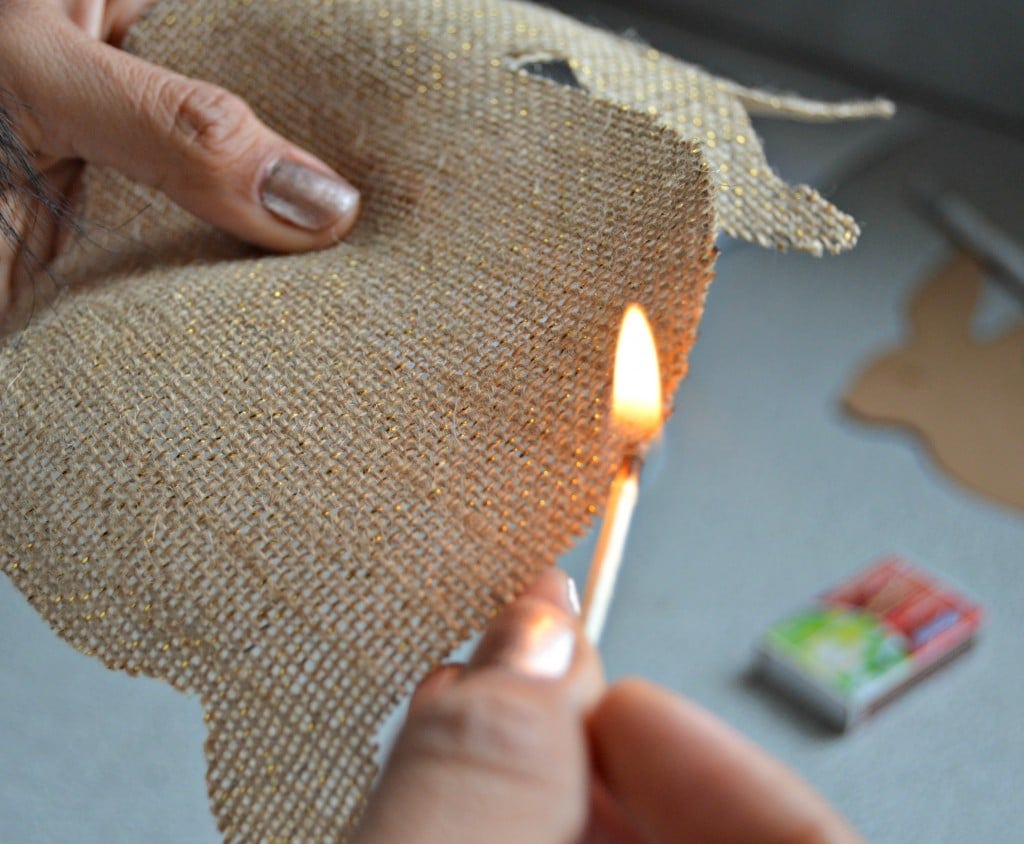
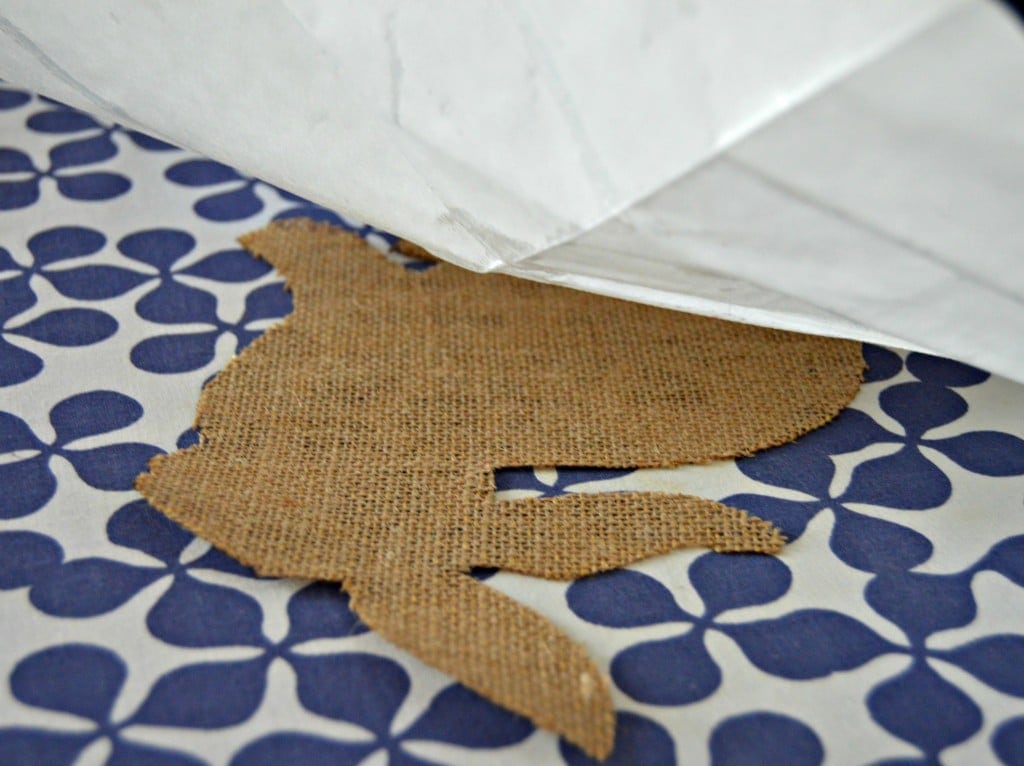
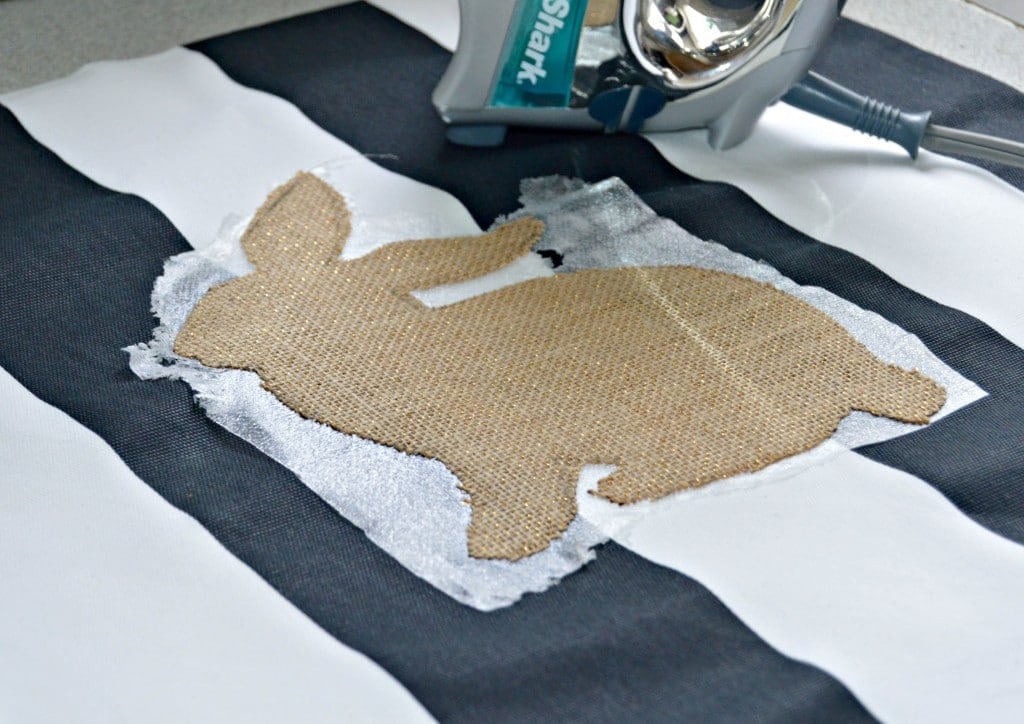
After the adhesive has been connected to the bunny pattern, all you have to do is bond it to your pillowcase, fill it will the pillow, and attach whatever cute accessory for the tail. I found these ones that were already pre-made and used a coupon, so they were pretty cheap. However, if you are adventurous, you can try to make your own mini pom poms for the tail. Really you can use whatever you can find as long as it is what you want.
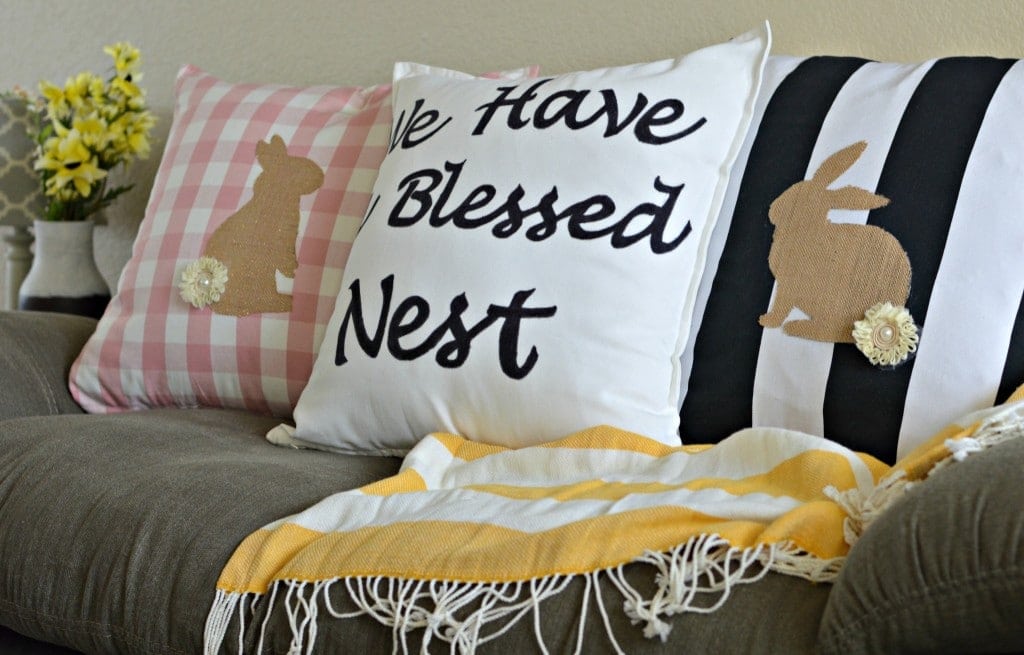
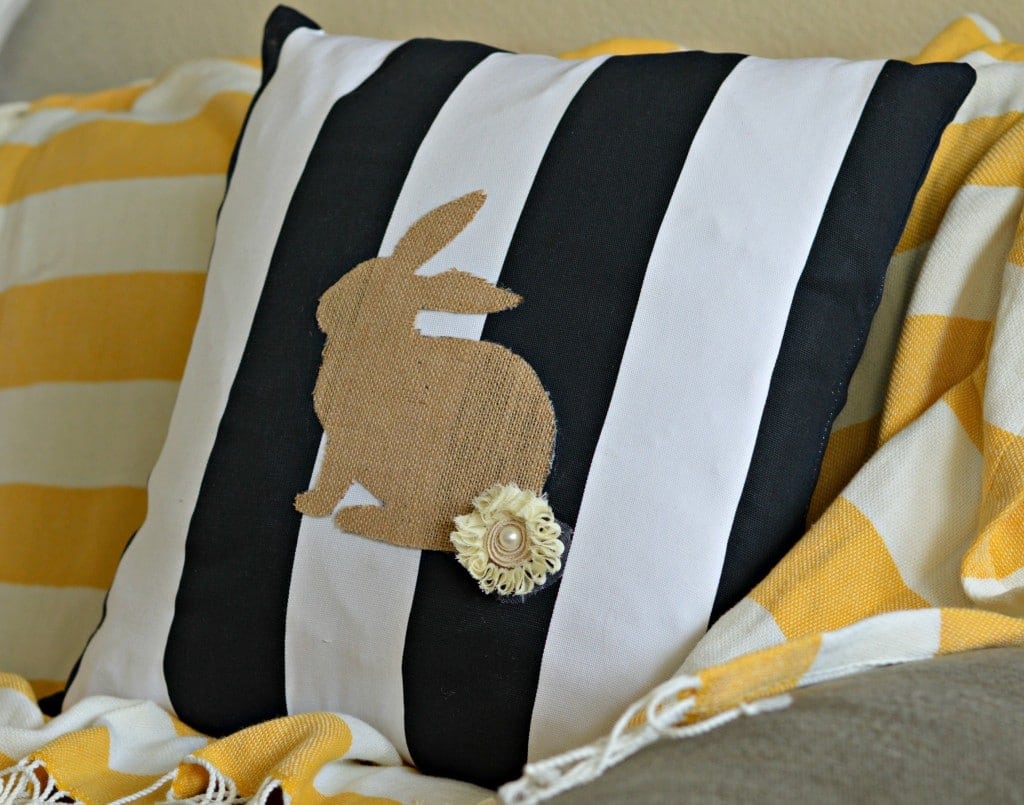
See, that was easy right? Now there are no excuses for not being motivated and making fun crafts. If I can do it, so can you! Don’t forget to let me know in the comments how they turned out!

