Para Español, Haz Click Aquí.
I love doing crafts that you can use during the entire year. It is awesome, because not only do you save time and money, but you save space as well because you don’t have as many decorations to store. This wooden box centerpiece is perfect because you just have to change what you put inside it to make it work for different seasons, and the best part is that you can do it yourself and have it ready within a couple of hours!
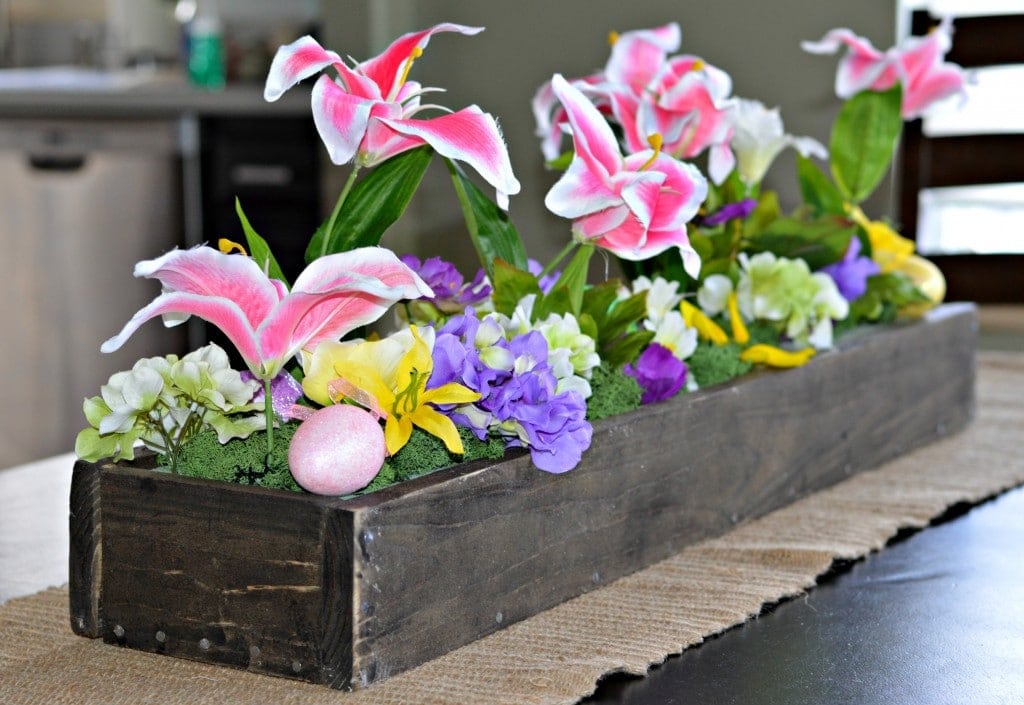
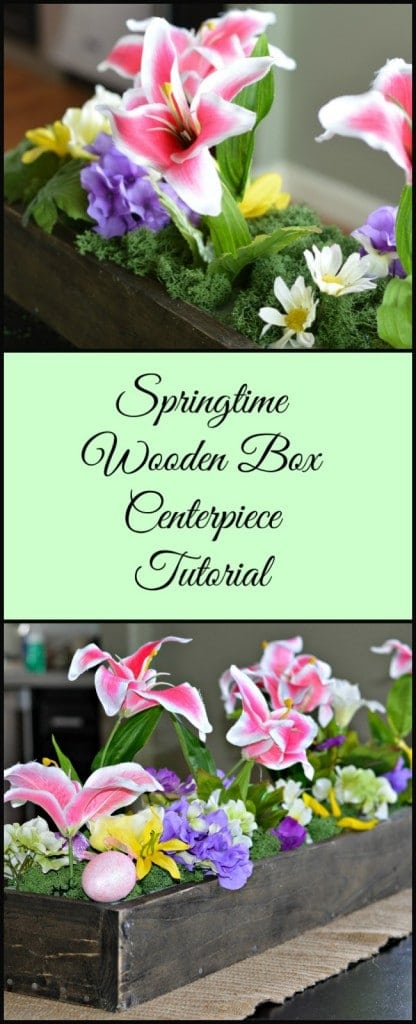
The inspiration for this centerpiece is Spring of course! So I added some Easter egg decorations that I found at the dollar store to bring in some of the Easter spirit and to go along with the bright flowers. Of course you can use your imagination and add whatever works best for you. I made the box last year after seeing other similar ones on Pinterest, and after receiving many complements, I made a few extras to give away as gifts.
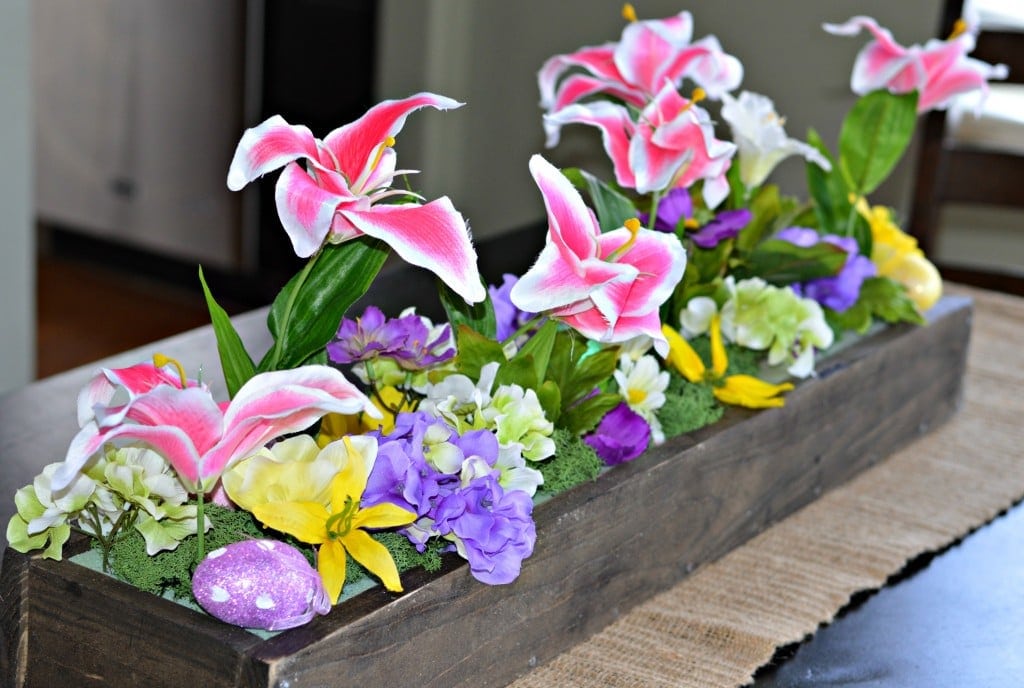
Like I mentioned above, this box is very easy to make and I assure you that you can have it ready in just a couple of hours. To make it you will need to cut the wood to the following measurements:
- 1 – 1 x 6 (30″ length) for the base
- 2 – 1 x 4 (31.5″ length) fo the sides
- 2 – 1 x 4 (5.5″ length) for the end pieces
You will also need 1 1/2″ length nails.
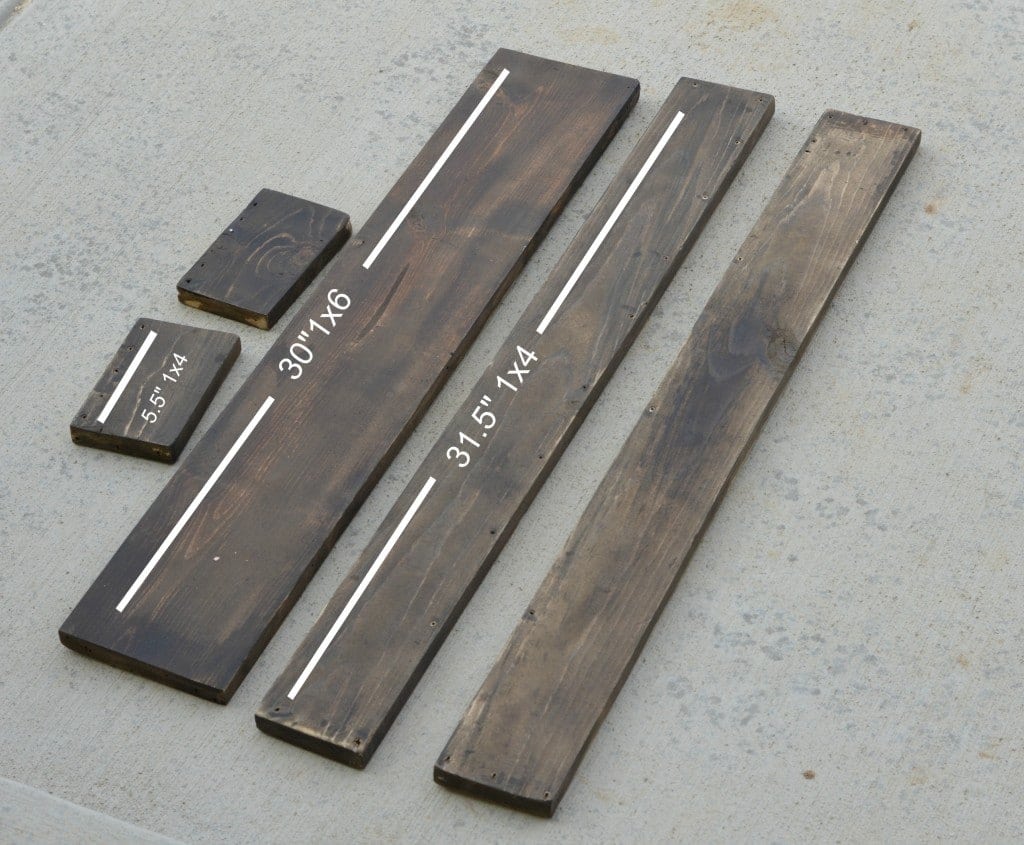
I bought the wood at Home Depot. If you don’t have a circular saw like the one that we used, you can usually ask an employee there to cut them to the measurements you need and they will do it for you.
After you have cut all of the pieces to the correct size, it is important to sand each piece so that they are smooth. I used this electric sander and I was able to finish it up quickly and easily – the good thing is that it is not that expensive.
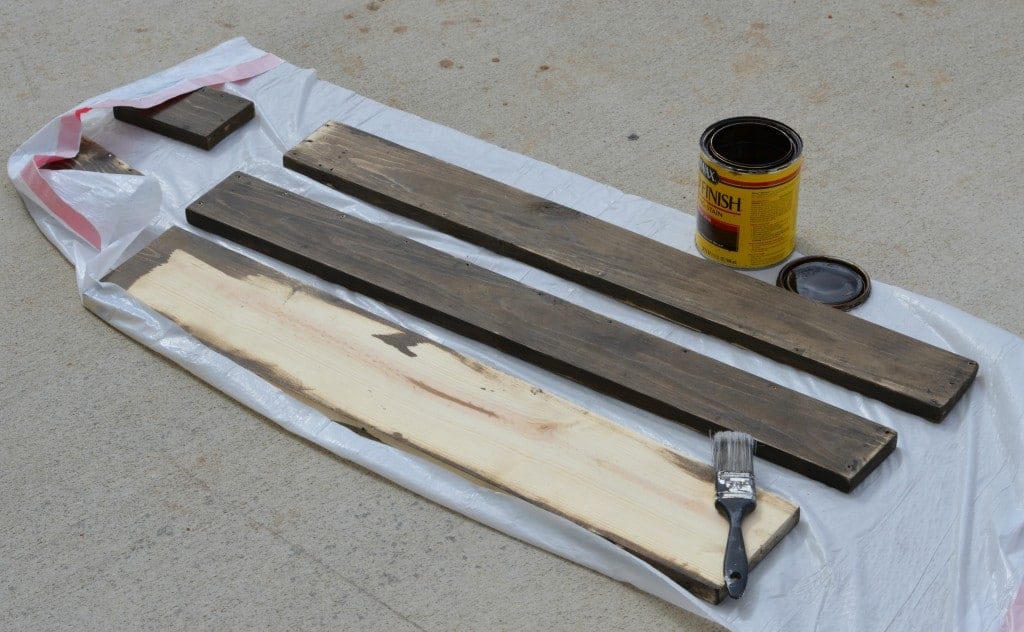
After sanding the wood, make sure to clean each piece off with a rag so that the surface is smooth and ready to be painted. I used Minwax dark walnut stain that I had leftover from some of my other projects. After the stain dried completely, I sanded it again to give it a more rustic look. If you prefer a newer look, then you should skip that step.
Now that you have all of the pieces ready, the next step is to attach them using 1 1/2″ wood nails. I started with the end pieces, and then added the side pieces one at a time.
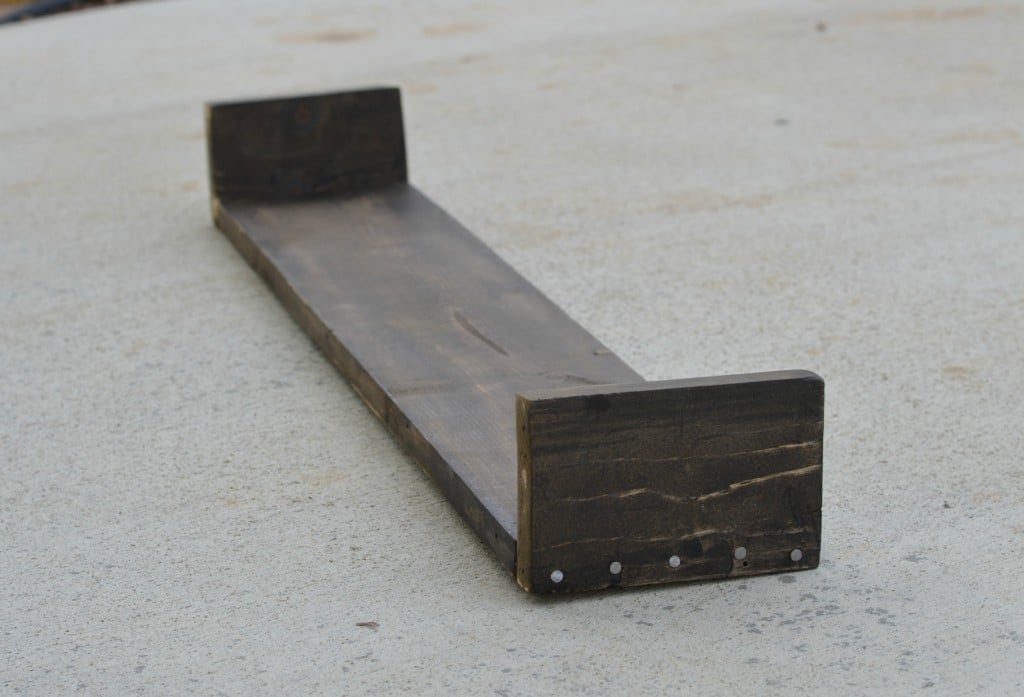
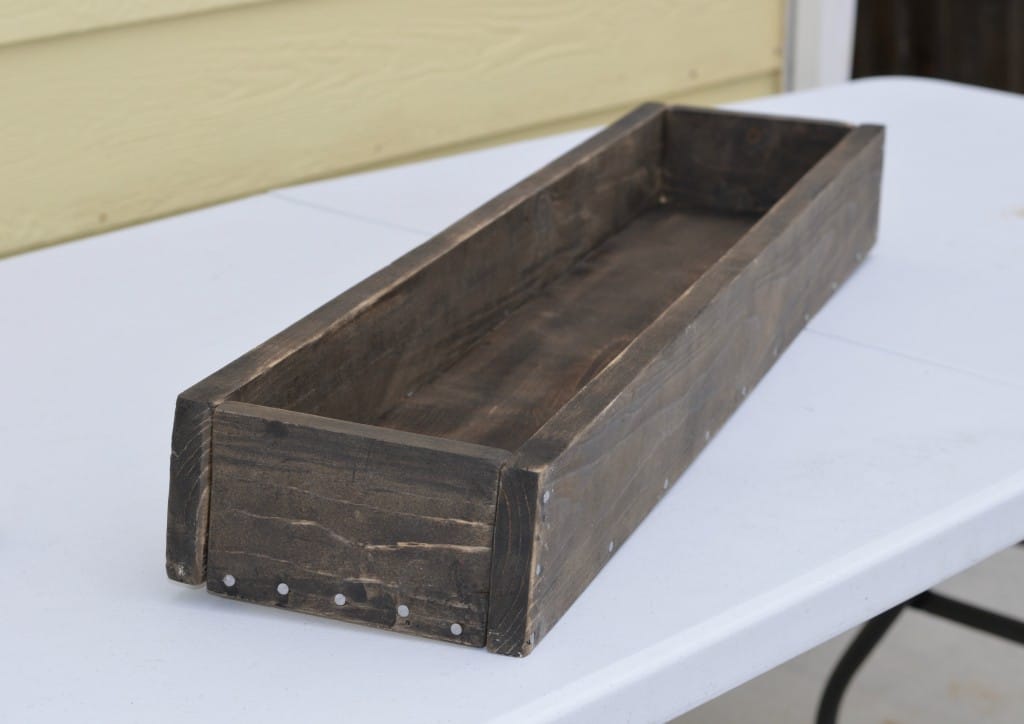
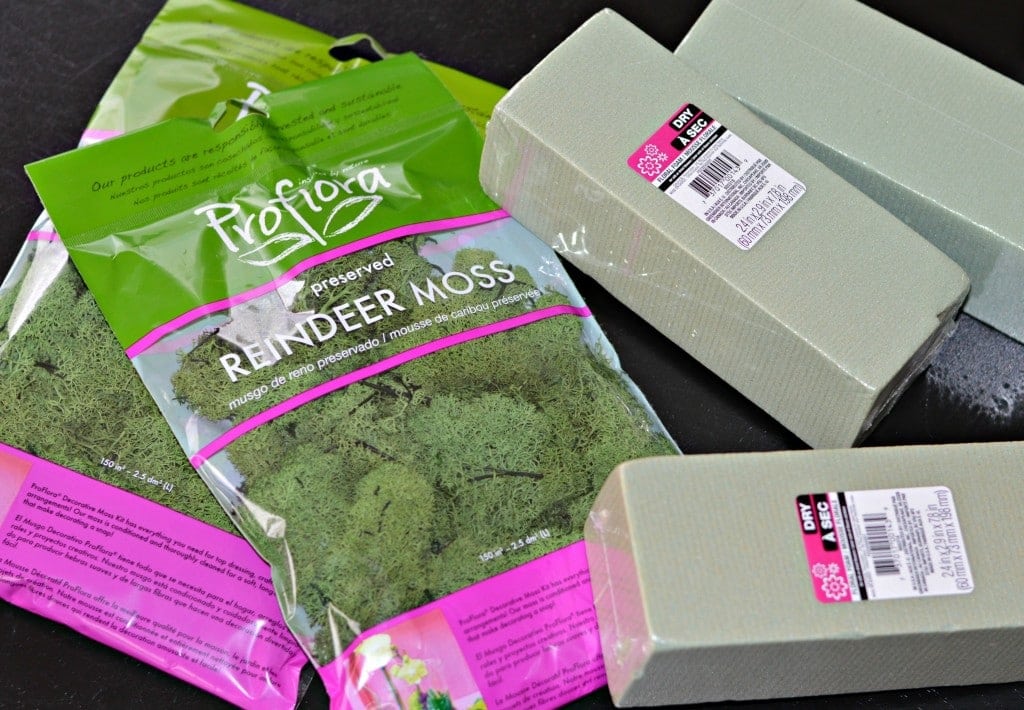
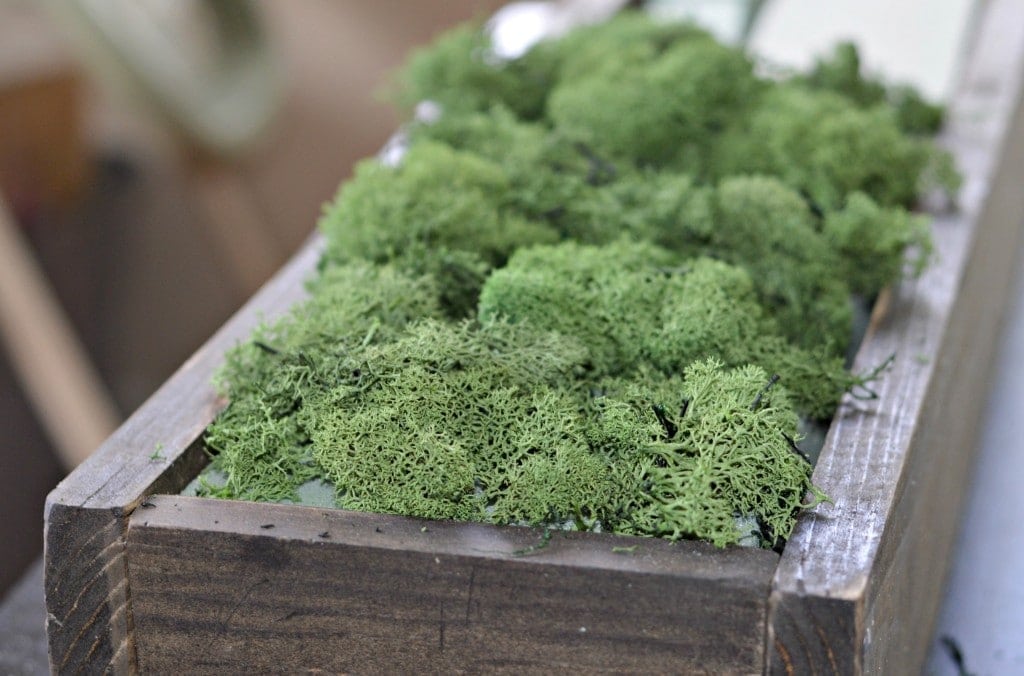
Now that you have a completed box, it is time to fill it up! I started out with some dry foam blocks and preserved moss. I chose these because I got them on sale for $.75 at Walmart! Then I just had to cut them to the correct size that I needed.
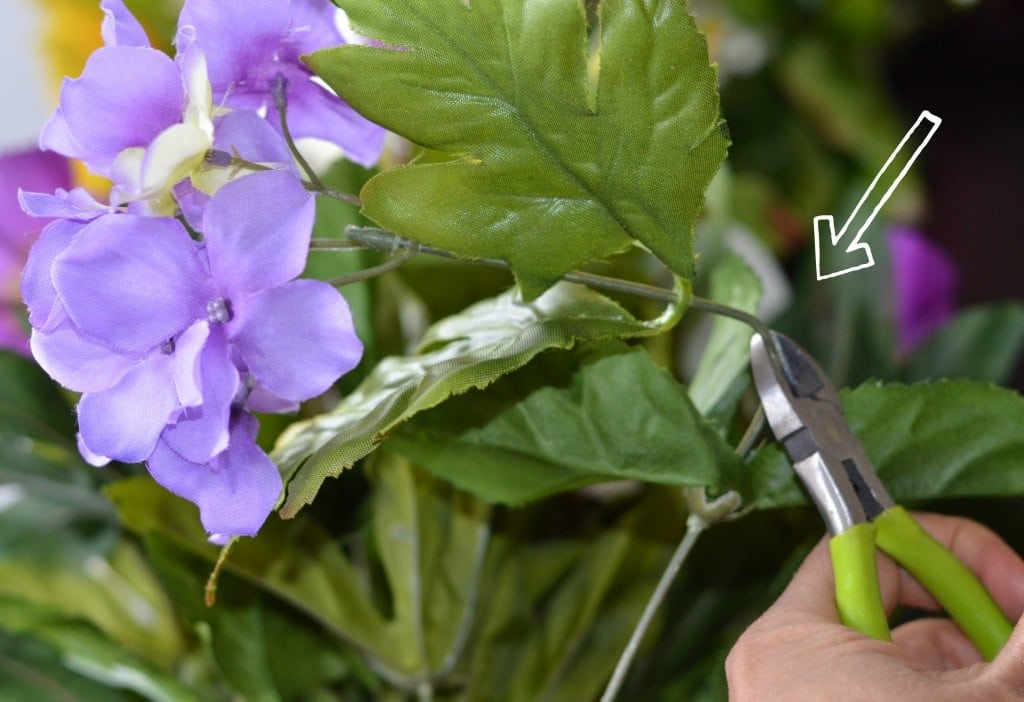
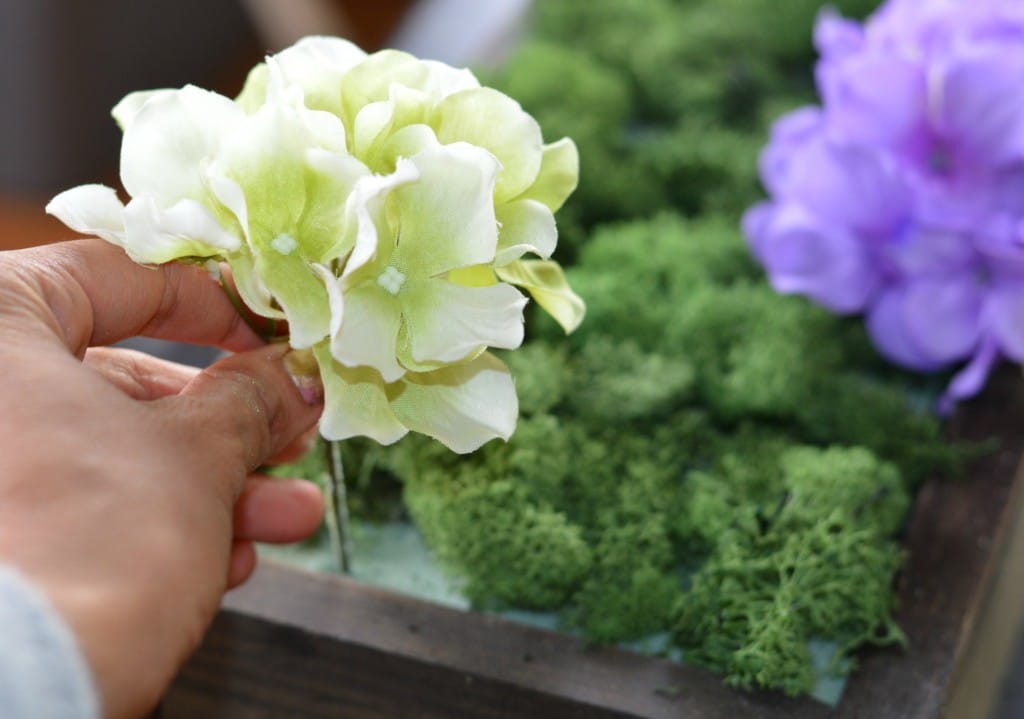
Finally, I added the plastic flowers that I thought were the prettiest and the Easter eggs, but like I said, this is really all up to you and your imagination!
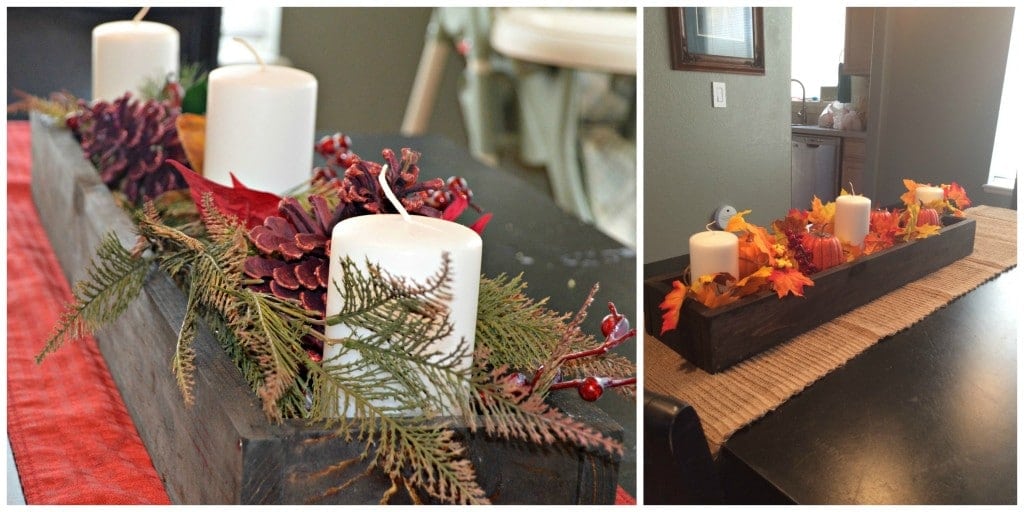
To prove that this can be used for other season as well, here are some images from when I used it in the fall and winter this year.
I hope that you have enjoyed this tutorial! Let me know how your’s turns out in the comments below.

Kylene
Wednesday 9th of March 2016
This is so cute, Charbel! I will have to try to make one. Your tutorial makes it look so easy.
Charbel Barker
Wednesday 9th of March 2016
Thank you Kylene!Let me know how it turns out if you make it :)